When you step up to a squat rack, the idea is simple: lift the weight safely, push your limits, and walk away stronger. But safety is key, especially when handling heavy barbells. That’s where squat rack safety bars come in—those adjustable steel catches resting on the sides of the rack. They might seem like just extra metal, but they play a crucial role in protecting you during your squats. Whether you’re a beginner or a seasoned lifter, understanding how to use these safety bars properly can be a game changer for your workouts and injury prevention.
What Are Squat Rack Safety Bars?
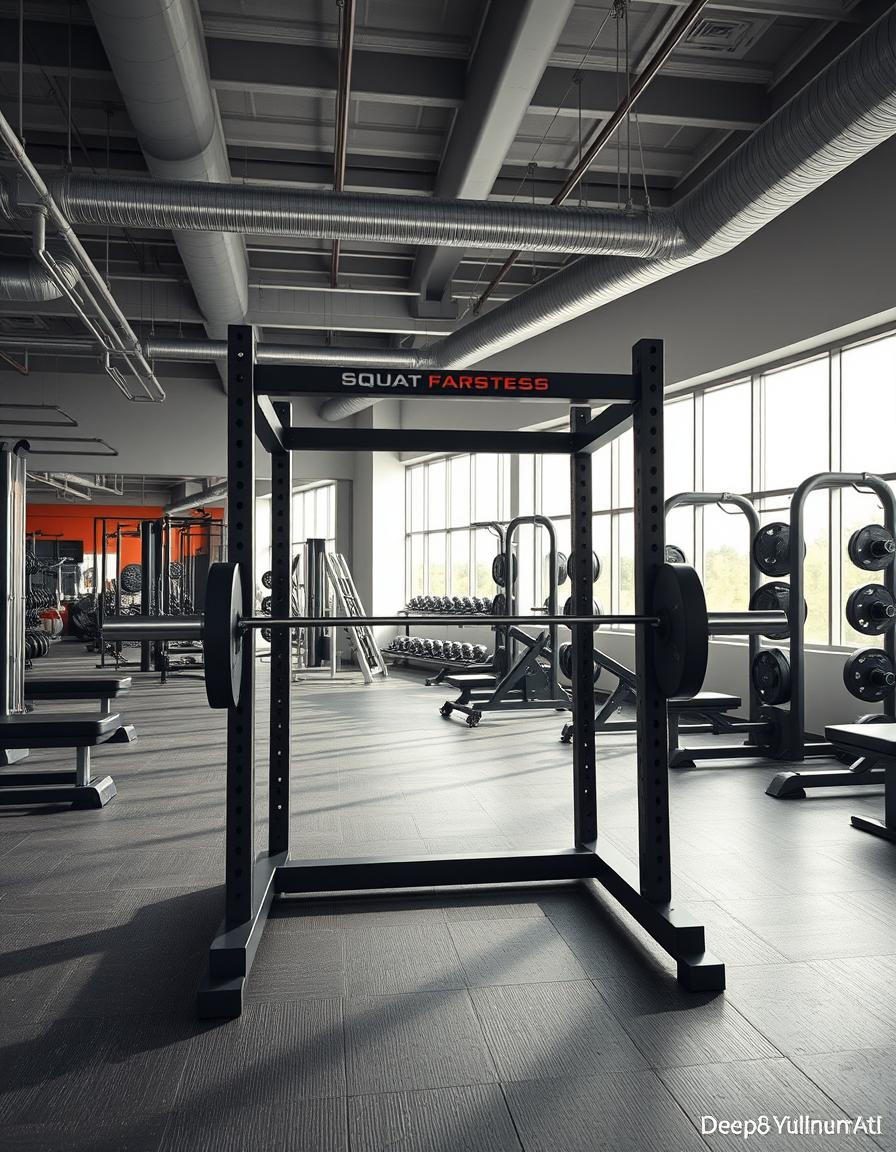
Squat rack safety bars are horizontal bars or pins placed on the sides of a squat rack at adjustable heights. Their main job is to catch the barbell if you fail a squat or can’t lift the weight back up. Instead of the bar crashing onto your back or neck, these bars take the load, giving you a fallback without risk of injury.
Think of them as your workout spotters made of steel—always there, ready to help even if no one else is around.
Types of Squat Rack Safety Bars
- Pin-and-Plate Safety Bars: These are metal plates that slide into holes on the rack, allowing you to set the exact height you want.
- J-Cups with Safety Arms: Some racks feature J-shaped hooks for holding the bar when racking or unracking and extend arms functioning as safety bars.
- Chain or Strap Safety Systems: Less common but flexible, chains or straps hang to catch the barbell. More often seen in specialty racks.
Most gyms use pin-and-plate systems for their simplicity and sturdiness.
Why Use Squat Rack Safety Bars?
We’ve all heard the phrase, “Better safe than sorry.” When pushing your limits during squats, safety bars help you avoid serious problems like dropping the bar on yourself or getting trapped underneath. Here are the main reasons to use them:
- Prevent Injury: If you lose balance or strength, the bar rests on the safety bars instead of you.
- Confidence Booster: Knowing there’s a safety net allows you to lift heavier without fear.
- Solo Training: When no spotter is around, safety bars are your backup.
- Form Focus: You can concentrate on technique without worrying excessively about dropping the weight.
Common Misconceptions
Some lifters avoid using safety bars because they think it messes up their form or makes squatting too easy. But the truth is, safety bars are there for protection, not as a crutch. They don’t help you lift the weight—they only catch it if things go wrong. Using them smartly doesn’t change how you squat but helps prevent accidents.
How to Set Up Squat Rack Safety Bars Correctly
Setting up these bars properly is just as important as using them. Here’s a simple step-by-step guide:
| Step | What to Do | Why It Matters |
|---|---|---|
| 1. Estimate Your Squat Depth | Know where your hips are at the bottom of your squat. | Helps you set the safety bars just below your lowest point. |
| 2. Adjust Bar Height | Place the safety bars about 1-2 inches below your lowest squat depth. | Ensures the bar can be caught without interfering with your normal movement. |
| 3. Check Stability | Make sure bars are locked securely and won’t slip during use. | Prevents accidental falling of the barbell. |
| 4. Test Setup | Lower the empty barbell onto the safety bars to confirm their position. | Confidence your setup works before adding heavy weights. |
Getting these steps right can keep you out of trouble and make your squatting safer and more enjoyable.
Tips for Using Safety Bars During Squats
- Warm Up First: Always do a lighter set to ensure safety bars are at the right height.
- Maintain Proper Form: Safety bars don’t replace the need to squat correctly.
- Stay Focused: Keep your core tight and eyes forward.
- Fail Safely: If you can’t complete a lift, drop the bar onto the safety bars instead of risking injury.
Benefits Beyond Safety Bars
Using squat rack safety bars also encourages a culture of smart lifting. They remind gym-goers that even strong people need backup sometimes. Plus, incorporating safety bars can improve your workout routine:
- Encourages Progressive Overload: You’ll be more willing to increase weights in your sets.
- Supports Solo Training: Making it possible to train without a partner or spotter.
- Enhances Recovery: You don’t have to panic over failed reps, leading to less stress.
For those interested in mixing strength with fun and energy, consider adding bootcamp workouts to your schedule. These sessions complement strength training nicely, improving endurance and overall fitness.
Common Safety Mistakes to Avoid
Even with safety bars, mistakes can happen. Here are some common slip-ups to steer clear of:
| Mistake | Description | How to Fix It |
|---|---|---|
| Setting Bars Too High | You might hit the bars mid-squat and break form. | Lower the bars to just below your squat depth. |
| Setting Bars Too Low | Bar won’t catch properly if you fail. | Raise bars slightly so they can catch the barbell safely. |
| Not Locking Bars Securely | Bars may slip or fall during the lift. | Double-check locking mechanisms before lifting. |
| Ignoring Form | Relying on safety bars as a crutch. | Practice correct squatting technique first. |
Conclusion
Squat rack safety bars might seem like just an accessory, but they’re an essential part of a safe, effective lifting routine. They protect you from injury, boost your confidence, and enable safer solo training. Knowing how to set them up and use them properly can make a big difference in your progress and peace of mind.
So next time you load up the barbell, take a moment to adjust those safety bars. Think of them as your steel safety net, always watching your back, literally. With a bit of care and respect for the process, they’ll help you keep squatting strong and safe for a long time to come.

I’m Sandy – sharing simple tips, plans, and motivation to help you stay in a calorie deficit Plan and reach your fitness goals.
