Roti is a staple in many households, loved for its simplicity and delicious taste. However, for those who need to avoid gluten, enjoying roti can be a challenge. Fortunately, the gluten free roti offers a fantastic alternative that doesn’t compromise on flavor or texture. This guide will walk you through making your own gluten free roti at home, sharing tips and tricks to perfect this beloved flatbread without any gluten.
What Is Gluten Free Roti?
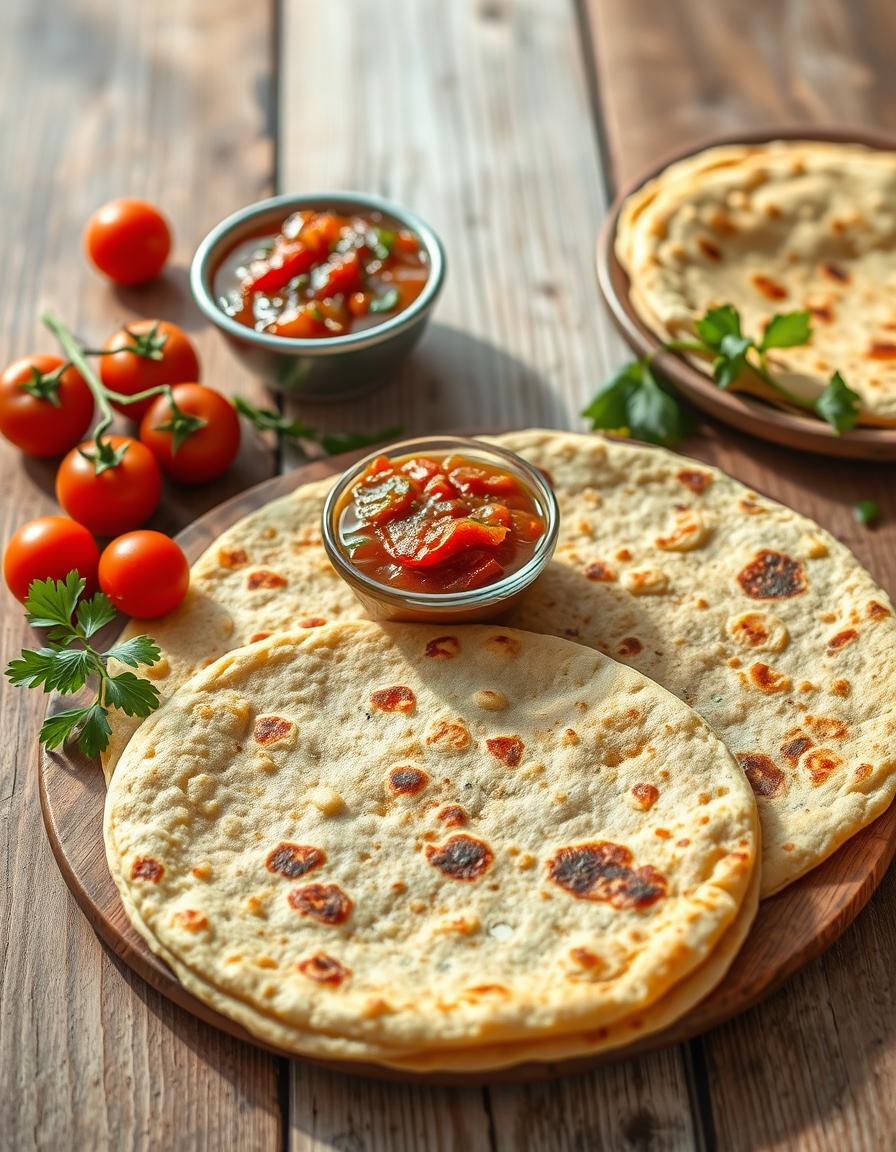
Traditional roti is usually made from wheat flour, which contains gluten—a protein some people cannot digest well. Gluten free roti uses alternative flours that don’t contain gluten, such as millet, chickpea, or rice flour. Despite the difference in ingredients, gluten free roti still provides a soft, flexible bread perfect for scooping up curries and chutneys.
Why Choose Gluten Free Roti?
Choosing gluten free roti can help people who have celiac disease, gluten intolerance, or simply want to reduce gluten in their diet. Many find they experience better digestion and more energy when gluten is removed. Plus, gluten free rotis can introduce you to a variety of nutritious flours that add unique flavors and textures.
Ingredients You’ll Need
The beauty of gluten free roti lies in its simplicity. Here’s a quick list of ingredients you can use to make your gluten free roti:
- Gluten free flour mix: You can use a combination of chickpea flour, rice flour, and millet flour.
- Tapioca starch or arrowroot powder: Helps bind the dough and add pliability.
- Salt: For taste.
- Warm water: To bring the dough together.
- Oil or ghee (optional): Adds softness and flavor.
Feel free to experiment with the flours to find the blend that suits your taste best.
Step-by-Step Guide to Making Gluten Free Roti
Making gluten free roti might feel a little different from traditional roti, but it’s a rewarding experience. Here’s a straightforward recipe to help you get started.
Step 1: Mix the Dry Ingredients
In a large mixing bowl, combine 1 cup of gluten free flour blend with 2 tablespoons of tapioca starch and a pinch of salt. Stir them together with a spoon or your fingers to ensure everything is evenly mixed.
Step 2: Add Water Gradually
Slowly pour in about ½ cup of warm water, mixing as you go. The goal is to form a soft dough that’s not sticky. You might need a little more or less water depending on the flour you use. Take your time — the dough should feel soft but manageable.
Step 3: Knead the Dough
Give the dough a gentle knead on a clean surface for about 3-5 minutes. Unlike wheat dough, gluten free dough is a bit more delicate. Adding a teaspoon of oil before kneading can help keep it smooth and soft.
Step 4: Rest the Dough
Cover the dough with a damp cloth and let it sit for 20-30 minutes. This resting period helps hydrate the flours and makes rolling easier.
Step 5: Roll Out the Roti
Divide the dough into small balls, roughly the size of a golf ball. Lightly dust your rolling surface with gluten free flour to prevent sticking and roll each ball into a thin circle. Don’t worry if it’s not perfectly round; rustic shapes taste just as good.
Step 6: Cook the Roti
Heat a skillet or tawa over medium-high heat. Place the rolled dough on the hot pan and cook for about 1-2 minutes until bubbles appear. Flip and cook the other side for another 1-2 minutes. If you want, press gently with a spatula to encourage puffing. Remove and keep warm in a cloth.
Tips for Perfect Gluten Free Roti
- Don’t over-flour: Too much flour while rolling can make your roti dry and tough.
- Control heat: Cooking on medium-high heat avoids burning and ensures even cooking.
- Rest the dough: This step is crucial for soft, flexible roti.
- Use a non-stick pan: It prevents sticking and makes flipping easier.
- Experiment with flour blends: Chickpea flour adds protein, while millet brings a slightly nutty flavor.
Health Benefits of Gluten Free Roti
Besides being gentle on the stomach, gluten free roti made from alternative flours can have additional nutritional benefits. Chickpea flour, for example, is high in protein and fiber, which keep you feeling full longer. Millet flour offers essential minerals like magnesium and phosphorus.
If you like counting calories or tracking macros, you might be interested in checking out chuck roast nutrition facts. It’s always good to be informed about what you eat!
Storage and Serving Ideas
Gluten free roti is best enjoyed fresh and warm. However, you can store leftovers in an airtight container for up to 2 days in the refrigerator. To reheat, sprinkle a few drops of water and warm them on a skillet or microwave wrapped in a damp paper towel.
Pair your rotis with vegetable curries, lentil dishes, or even use them as wraps for grilled meats and salads. They’re versatile and make a great meal companion.
Common Challenges When Making Gluten Free Roti
You might notice your first attempts at gluten free roti being a bit sticky or crumbly. This is completely normal and part of the learning curve. Using a combination of flours and starches helps balance texture. Patience is your best friend here, and a little practice turns you into a roti pro in no time.
Conclusion
Gluten free roti opens up the joy of eating traditional flatbreads without gluten-related worries. By using simple ingredients and following easy steps, you can create flavorful, soft rotis that complement any meal. Remember that the key is to find the right flour blend and not rush the resting process. With practice and a bit of love, gluten free roti can become a favorite kitchen staple that pleases your taste buds and supports your health.

I’m Sandy – sharing simple tips, plans, and motivation to help you stay in a calorie deficit Plan and reach your fitness goals.
